
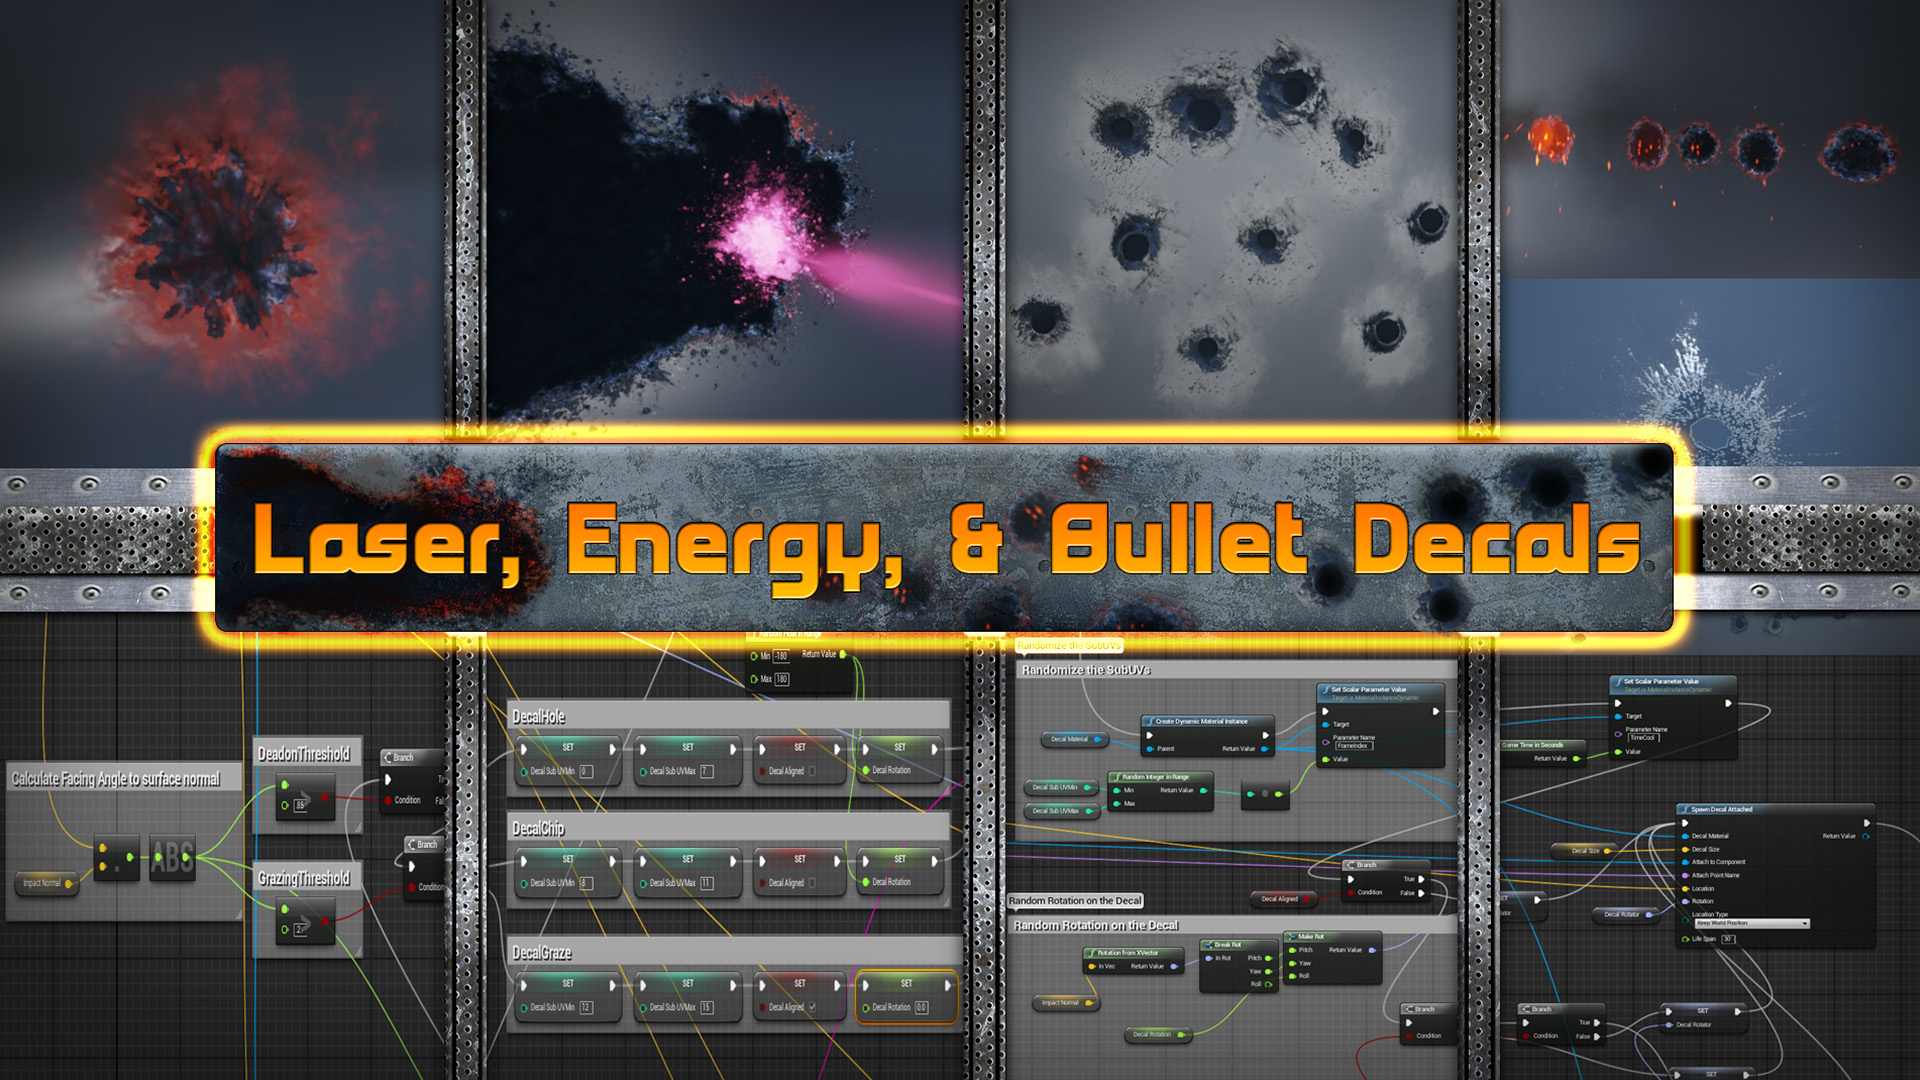
Advanced Laser and Bullet Decals
An advanced Decal placing system all done in blueprints and a wide array of Decal materials. Impact particles systems now included!
Description
Impact Decals:
An advanced Decal placing system all done in blueprints and a wide array of Decal materials.
- Metal, Concrete, Wood, Glass, Sheetrock, Plaster Bullet decals and more.
- Laser, Energy, and Explosion scorched decals
- Decals materials that dissipate heat and change materials
- SubUV placement system for allowing many variations of decals efficiently
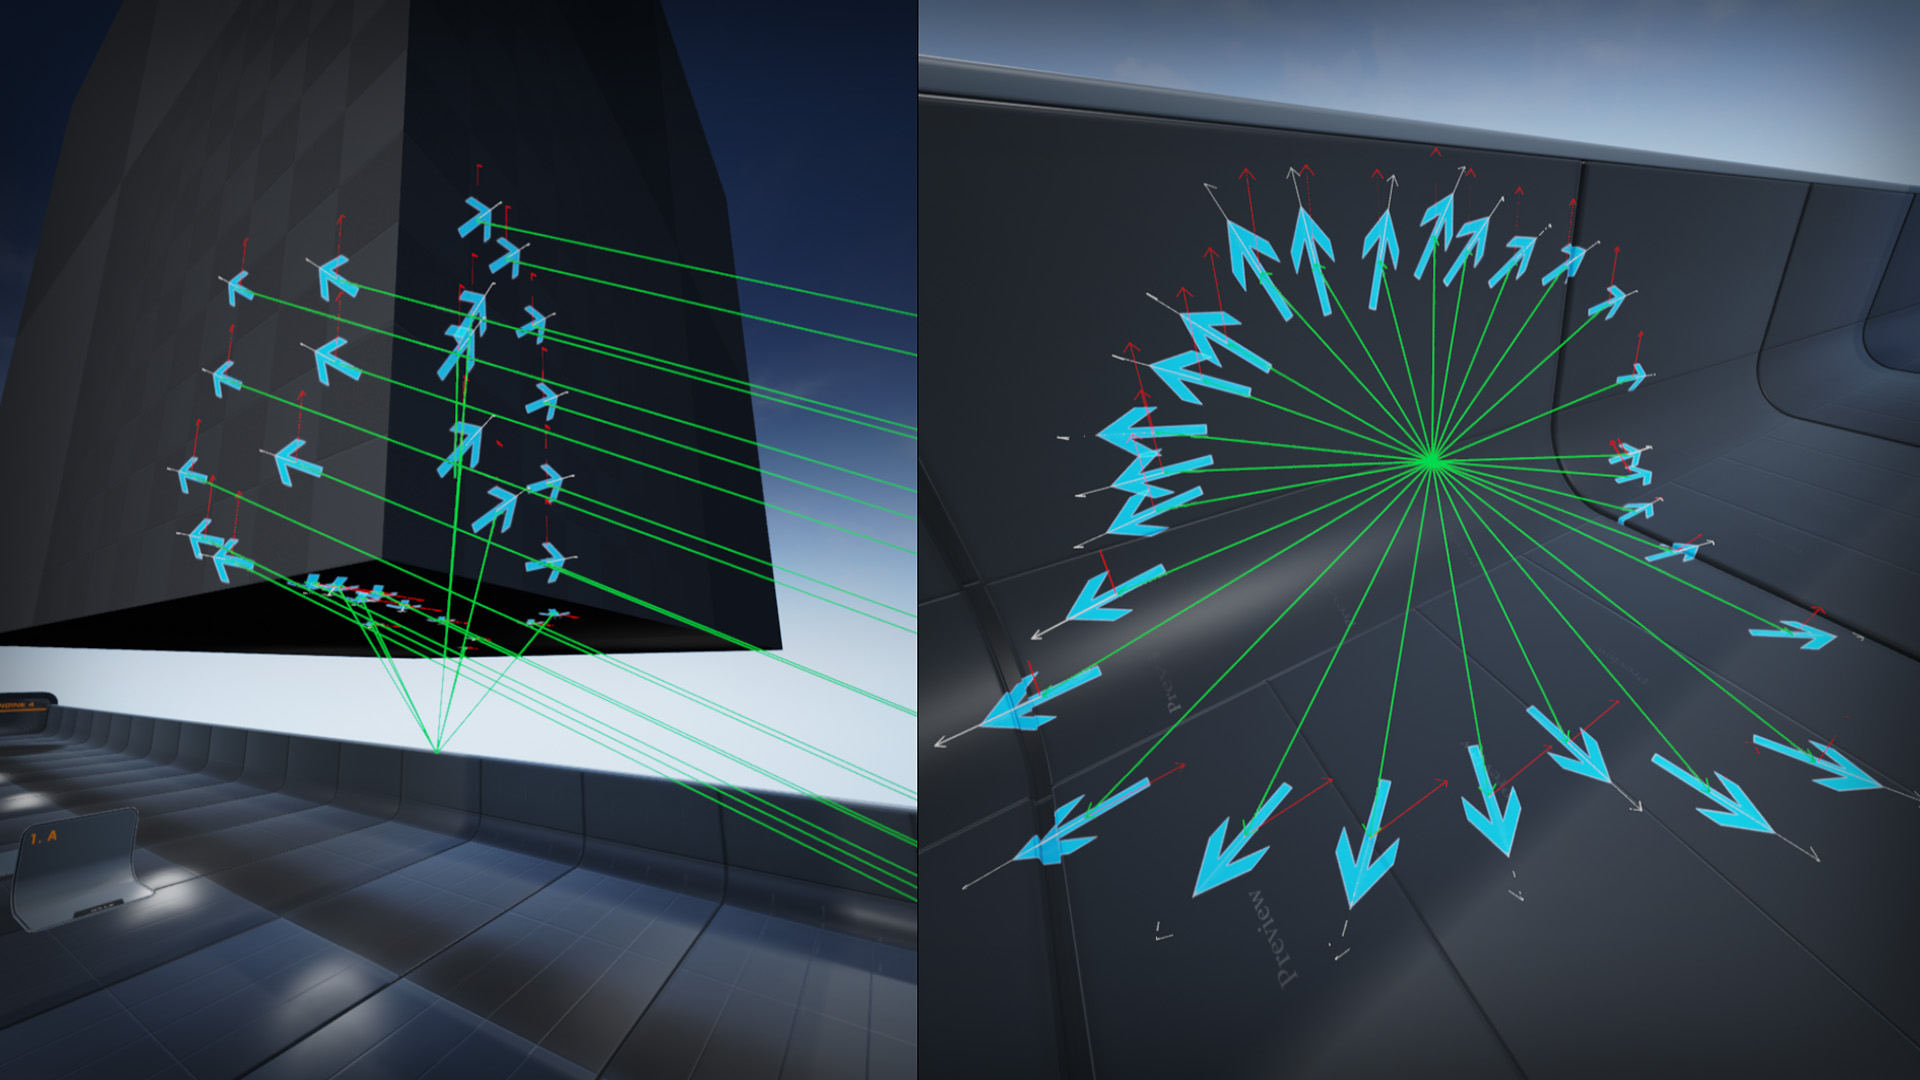
- Directional based decals that match the angle of the impact
- Raw textures include diffuse, specular, normals
Impact Particles:
All included particles are X-axis aligned... meaning its plug and play with HitTraces. In addition, all effects have Vector Parameters exposed for reflection vectors. Dynamically, they are influenced with the angle of the impact not just the surface normal. Example setup included in the demo.
- Dirt
- Water
- Concrete
- Metal
- Plaster
- Sand
- many more surfaces...
Combine, Scale, or create new impact particles by using this pack as a foundation for all of you impact needs!
Initial Setup
There is one step that needs to be done after downloading the pack to open the demo map correctly. The physics surface configuration doesn't get setup when added to a project.
Step 1: Locate the "PhysicsSetup.ini" in your project folder directory
Step 2: Open your editor and go to "Project Settings"

Step 3: Go to the "Physics" option under the Engine category
Step 4: In the upper right hand corner, you have the option to "Import..." a file. Click on it and load the "PhysicsSetup.ini" that you located.

Step 5: The change doesn't take effect until you close down the editor and restart it
Step 6: After restart, load the demo map and it should work =)
Basic Use
Latest Update to system:
- The new update contains an "EASY BUTTON" option for people. I've added a custom function library so you can easily plug this functionality into any character, controller, or pawn.
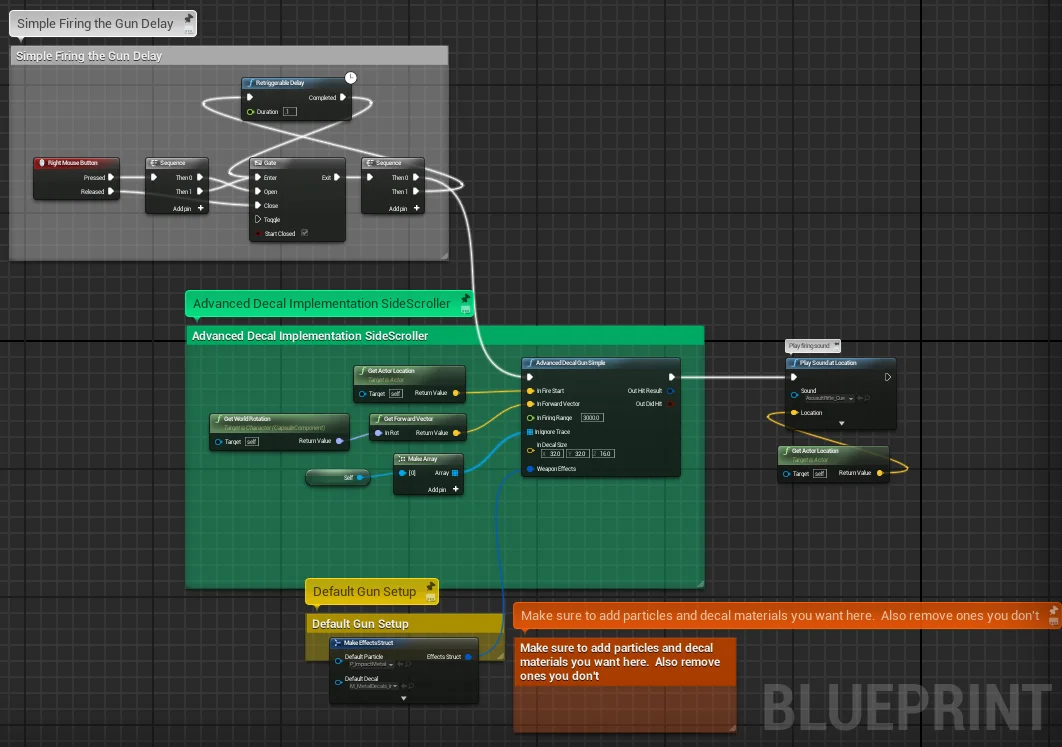
- Included sample code for the First Person Template, Third Person Template, TopDown Template, Sidescroller Template, and even the Flying Template.
- Install the decal system in minutes to any application.
Step 1: Inside of character, controller, or pawn blueprint, Right Click to obtain the context help menu
Step 2: Type in "Advanced Decals" into the filter and you will see several functions, choose "Advanced Decal Gun Simple"

*Notes (Base is like the demo room) (Custom is a starting for creating your own inputs and outputs) (Gun is a version that has a Player Index option)
Step 3: Input the Required Data into the fields
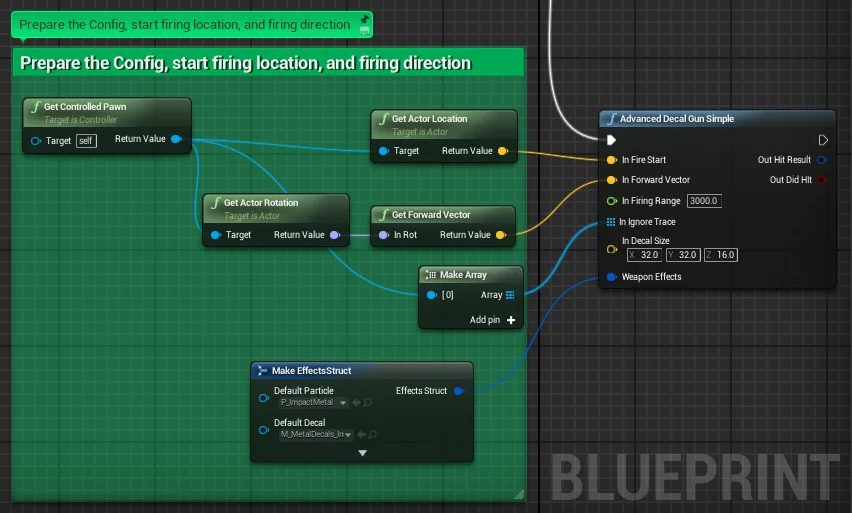
- InFireStart : Start Vector for the Gun Fire
- InForwardVector : Direction of Gun Fire
- InFiringRange : Max Distance the gun can shoot
- InIgnoreTrace : Actors that are ignored, include your own model
- InDecalSize : X,Y is the size, Z is the depth of projection
- WeaponEffects : Customized set of effects for this Gun/Character
- OutHitResult: Output the trace data if user requires it
- OutDidHit : Output if we actually hit anything
Weapon Effects
Step 4: Right click on the blueprint and type "Make EffectsStruct"
Step 5: Input all of your Particle effects and Decal Materials for this weapon and for each surface type (metal, dirt, carpet....)

Step 6: DONE! Go shoot it up!
Basic Templates
Sample Snippets Included!
For even faster iteration time, I have include some example code snippets for the common engine templates. Look under Decals-->Blueprints in the Content Browsers

Then choose what templated version you need and open up the blueprint. From there, you can quickly copy the code and default EffectsStruct into your own blueprint for quick implementation. Thats it!
This new update makes it super simple to implement into any code project.
Forward Renderer Settings
Applies to Engine version 4.14+:
The Advanced Decals Pack can be used with the new Forward Renderer with some minor changes. After enabling the renderer, the decals will not show up. Here is how to fix it.
Step 1: Open your Project Settings and Open the Rendering section. Scoll down to the "Lighting" category and enable "DBuffer Decals". This will require an Editor restart.

Step 2: Next, you need to open up all the decal material files and change the "Decal Blend Mode" to "DBuffer Translucent Color, Normal, Roughness".

Repeat this for all the following Materials:
- M_CardboardDecals
- M_ConcreteDecals
- M_GlassDecal
- M_MetalDecals
- M_PlasterDecals
- M_SheetrockDecals
- M_WoodDecals
- M_LaserDecals
- M_EnergyHeatDecals
- M_ExplodeHeatDecals