
Demo Player + VR Spectate Plugin
A complete Replay System with tools that take Amazing Screenshots of your game. Empower users to watch and create content of your game with this easy to use plugin. Easily config to auto record games, manage your demo streams with our viewer widget, and then playback the demo using our preset HUD. Oh did we mention, we provide support for playing the demos in Virtual Reality. Tested and setup with both Vive & Oculus options!
Description
A C++ and Blueprint friendly plugin, that extends the default UE4 demo system. Save time and extend your game seamlessly with our easy 3 Step integration. It's also great for debugging gameplay as you can replay every recorded game easily.
Here is what you get!
- UMG Demo Hud Widget, materials and textures
- UMG Demo Replay Viewer Widget, materials and textures
- UMG Demo VR Hud Widget, materials and textures
- Integrated VR pawns for Gamepad + Headset setup, with 3 locomotion options
- Integrated VR pawn for Motion Controller + Headset setup
- Extendable GameInstance, GameState, & Player Controller that will drop into any game
- Content Creation with Screenshot tool
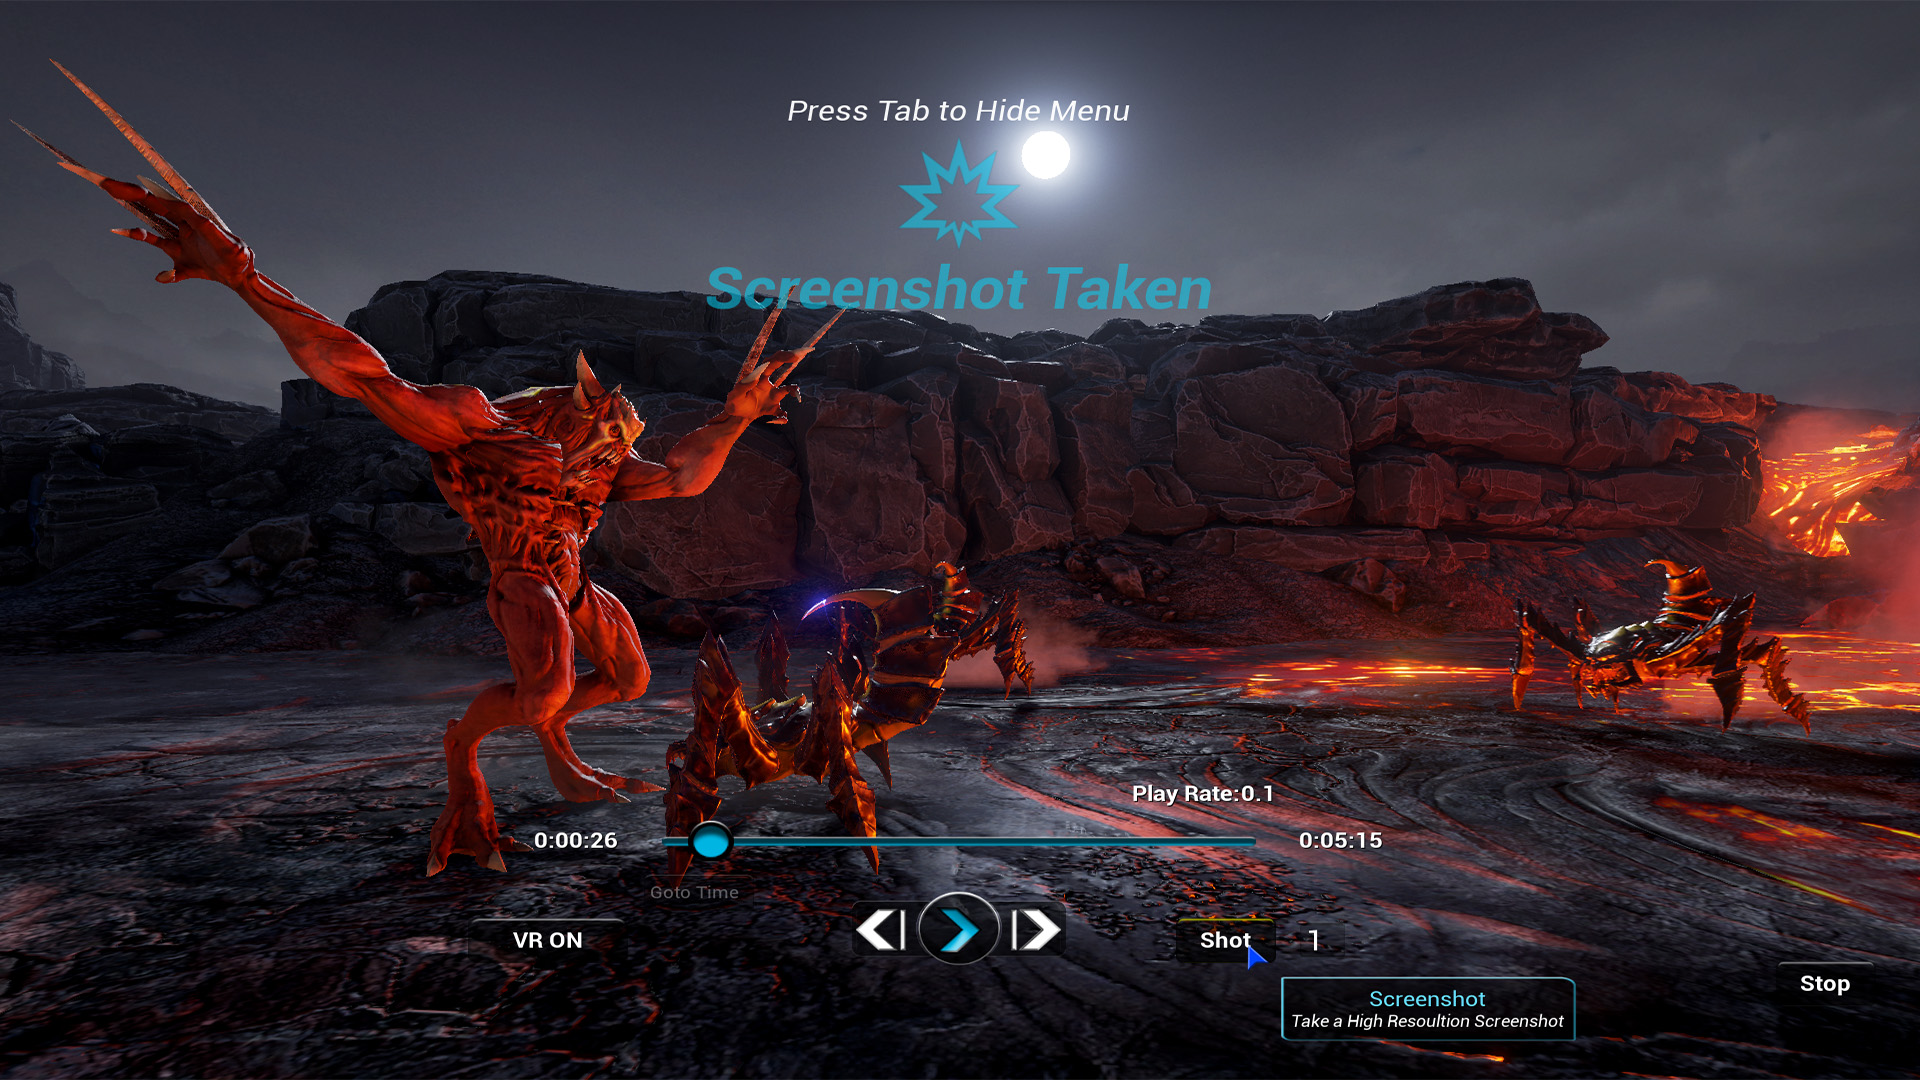
Demo HUD Widget:
Play, Pause, Skip Forward, Skip Backward, Take Screenshot, ScreenShot Multiplier to take Ultra Resolution renders, Increase Play Rate for Fast Forward, Decrease Play Rate for Slow Motion, Goto Time, Timeline Bar that can be Scrubbed or clicked.

Plugin shown installed in Abatron Game
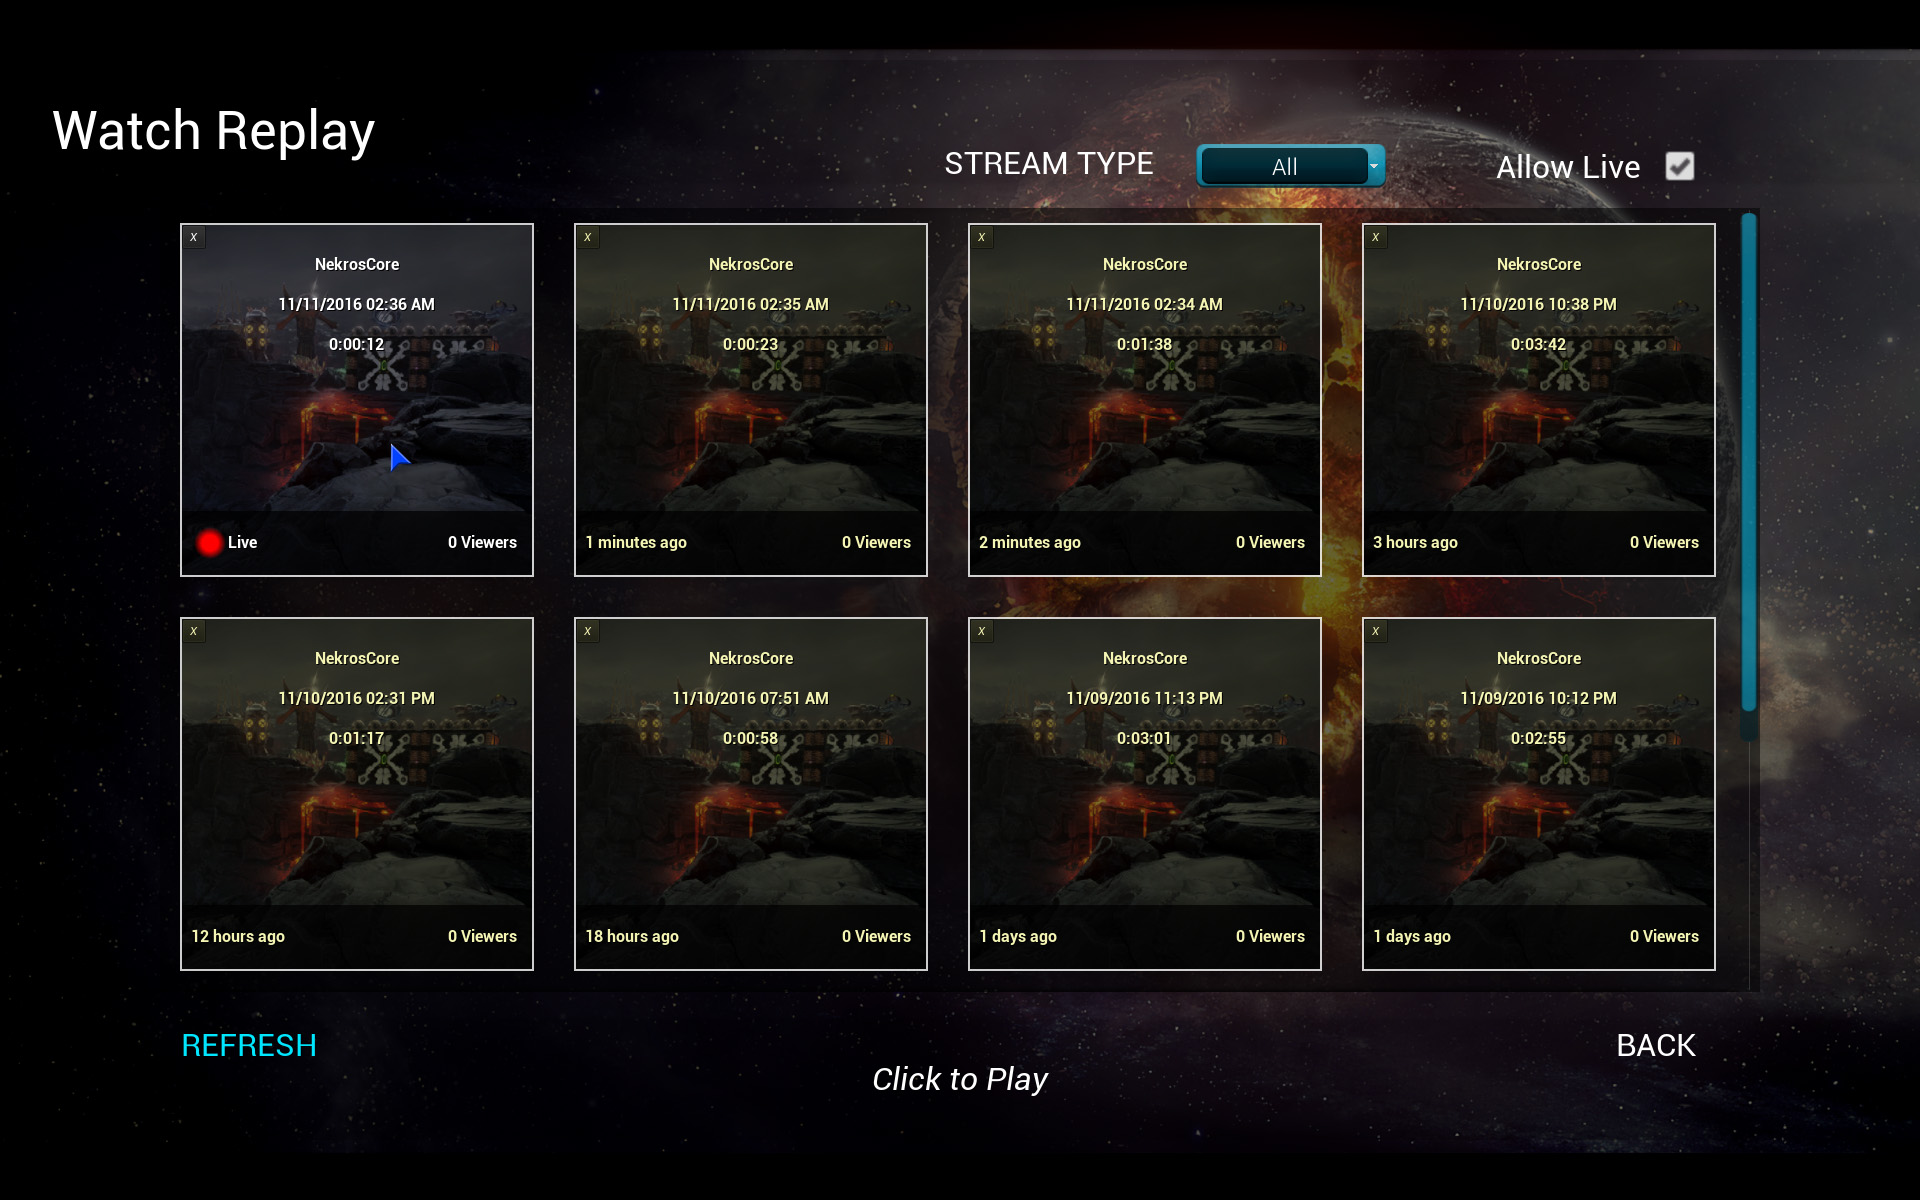
Demo Replay Widget:
Click to Play, Display Live or Time since Live, Display Duration, Display Map Name, Display Length, Scroll Replays, Filter Replays, Delete Replays.

Plugin shown installed in Abatron Game
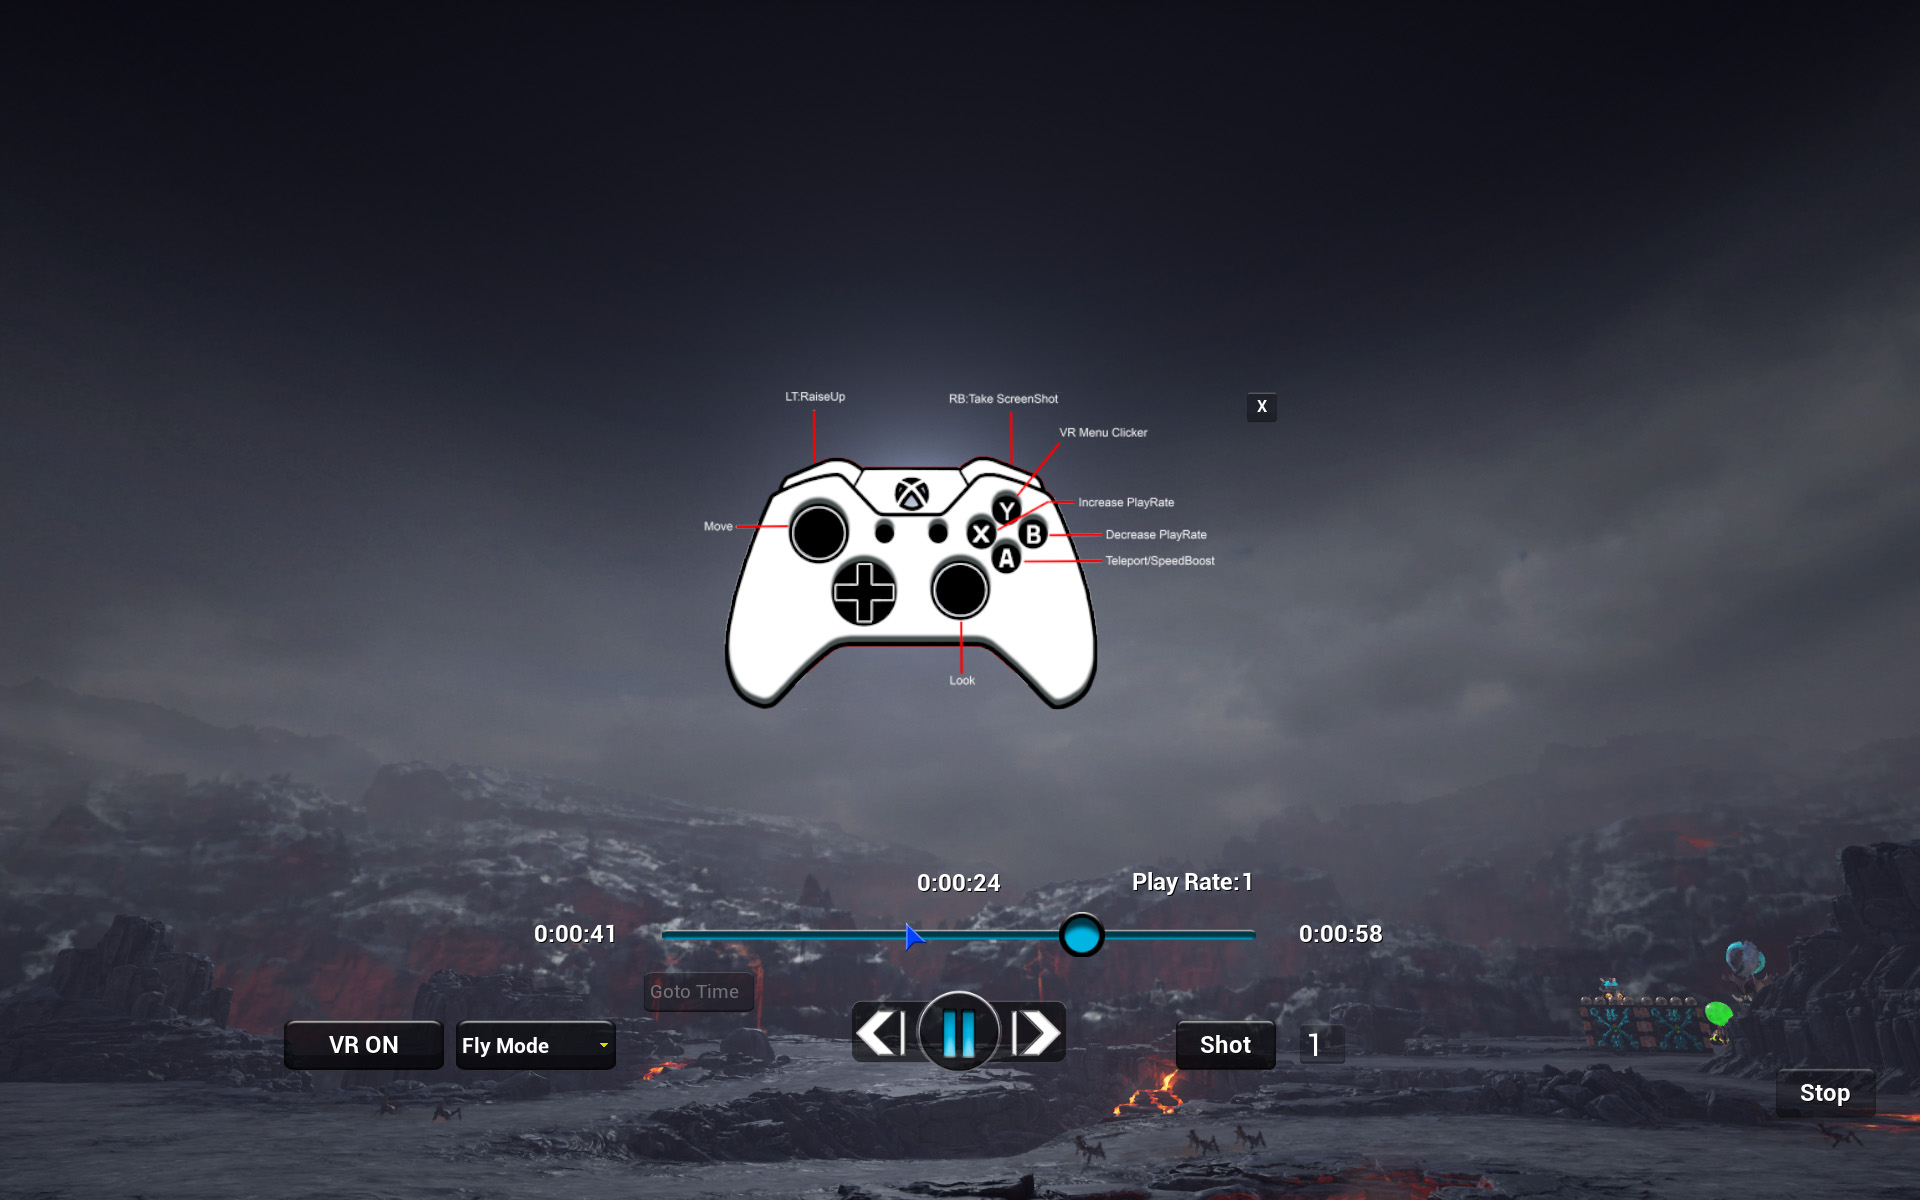
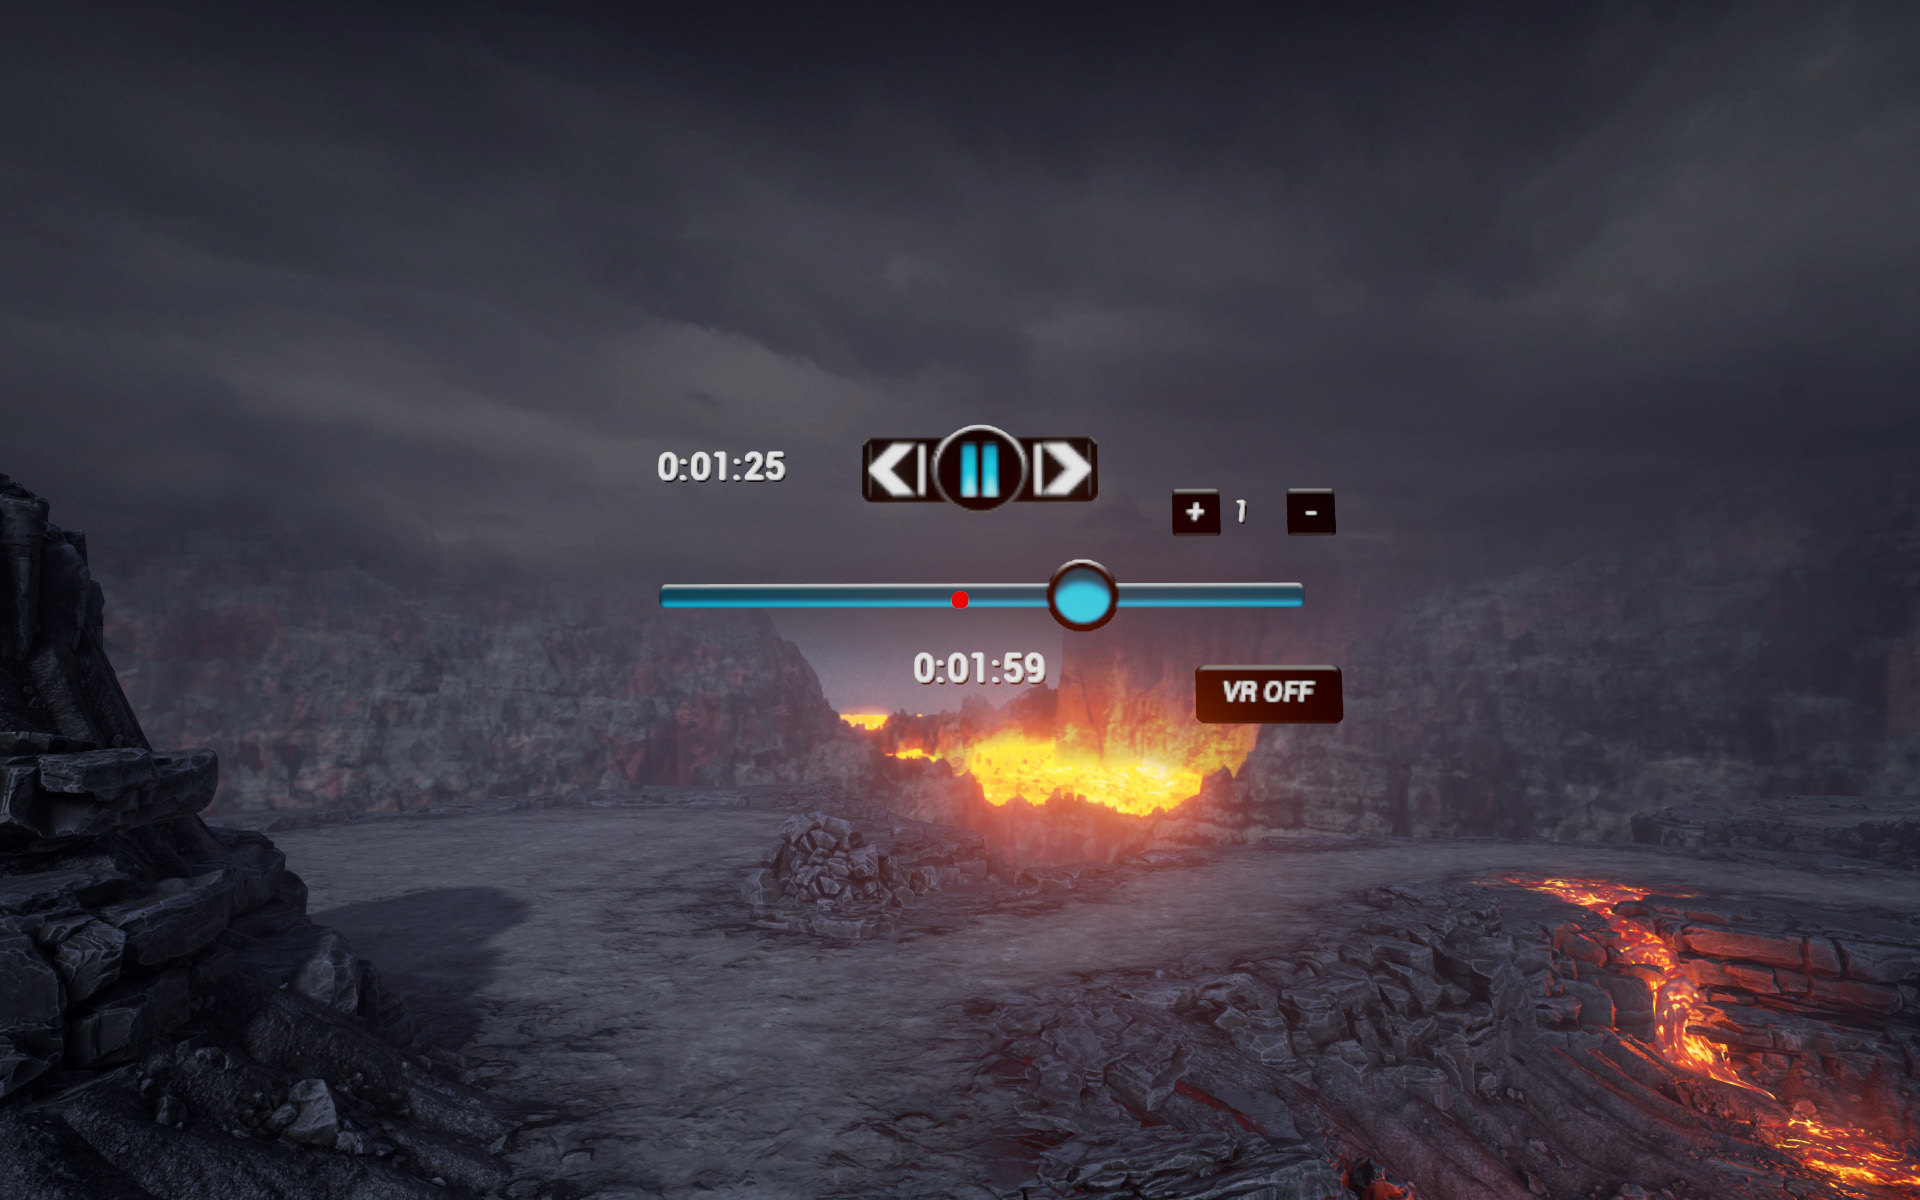
Demo VR HUD Widget:
Play, Pause, Skip Forward, Skip Backward, Take Screenshot, Increase Play Rate for Fast Forward, Decrease Play Rate for Slow Motion, Timeline Bar that can be Scrubbed or clicked.

Plugin shown installed in Abatron Game
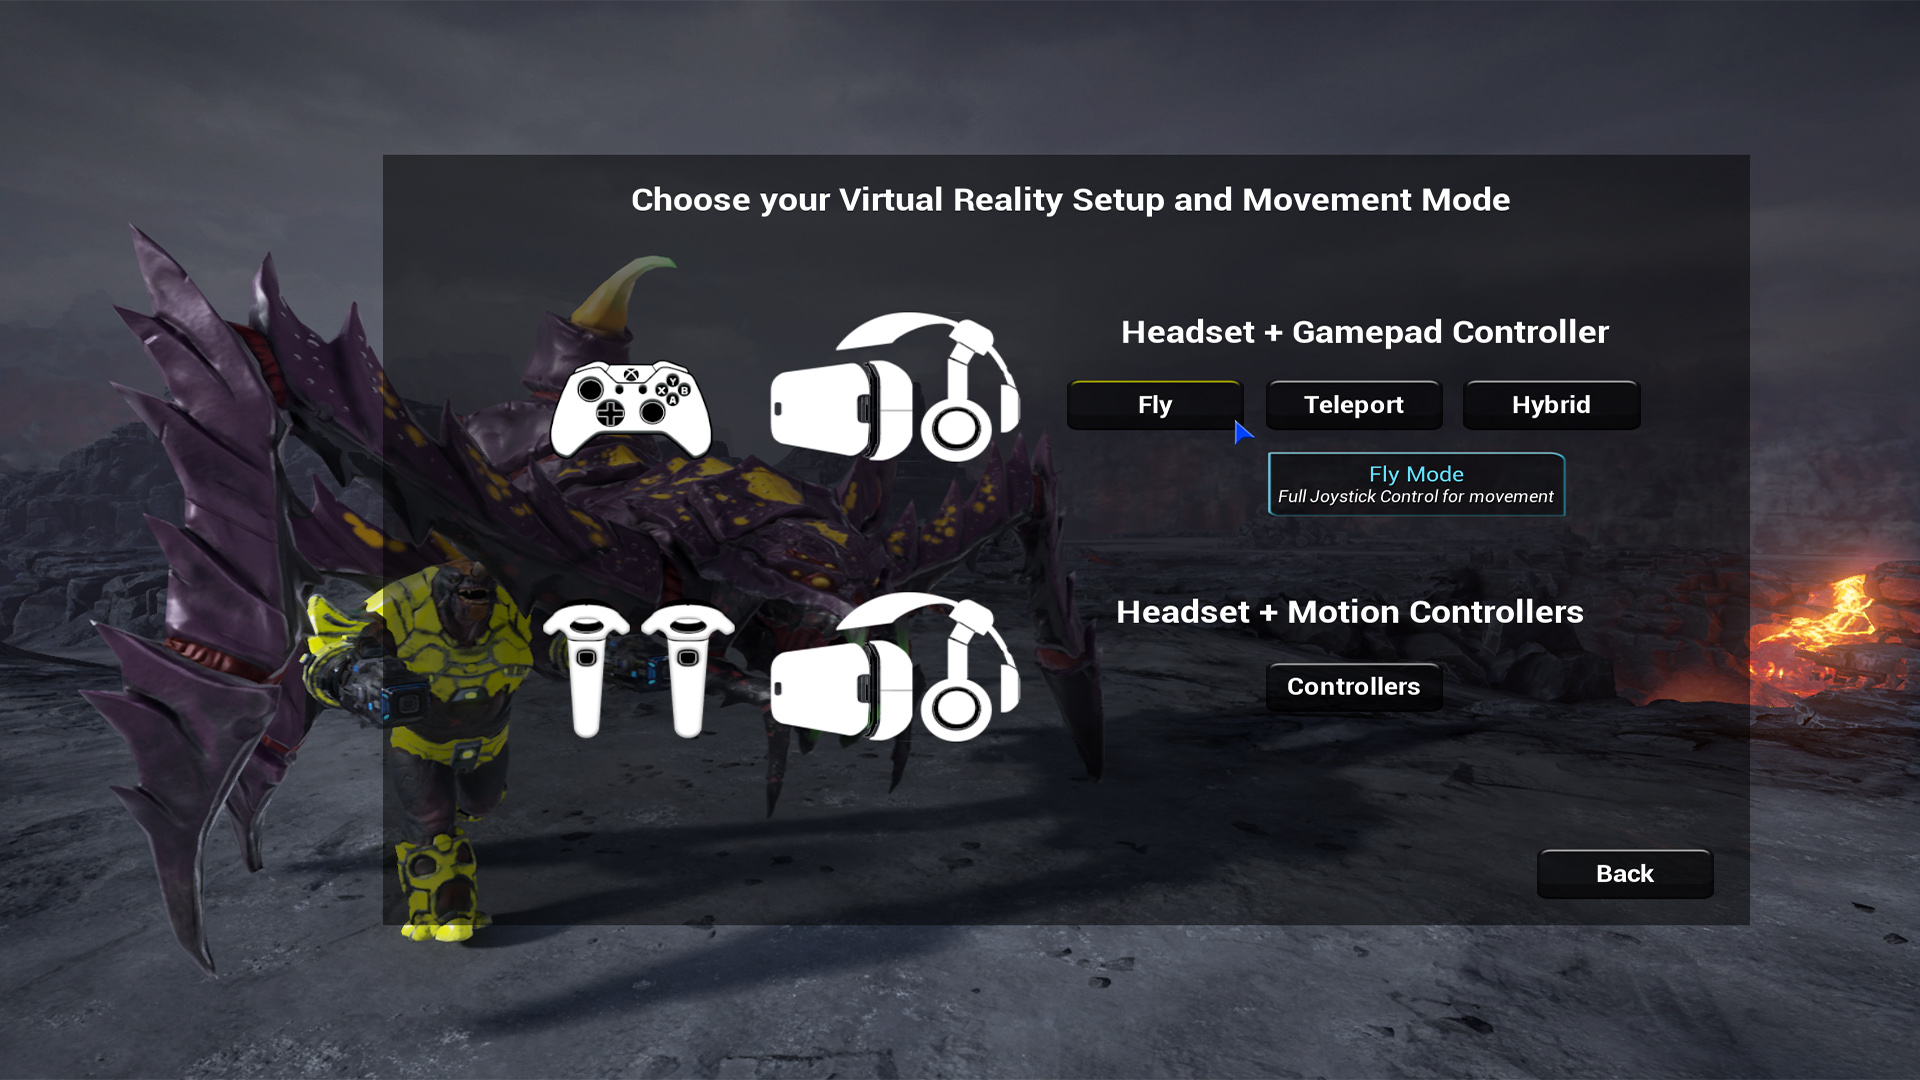
Integrated Pawns for 2D & VR viewing:
Supports Mouse & Keyboard, Supports Gamepad, Fly Mode for Gamepad + Headset setup, Integrated Tom Looman's Teleport Mode for Gamepad + Headset setup, Hybrid Mode for Gamepad + Headset setup, Integrated Tom Looman's Motion Controller Mode for a Motion Controller + Headset setup.
Planned Future Content:
We have several more features that we plan on putting into the pack that will be amazing. One of the biggest benefits of buying this pack is we use actually use this plugin ourselves so it will always be updated with our latest work. We also would love to hear what you want to see in the pack!
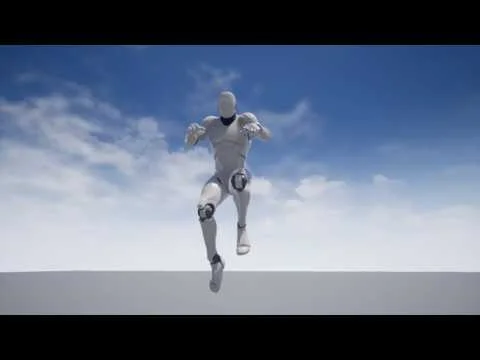
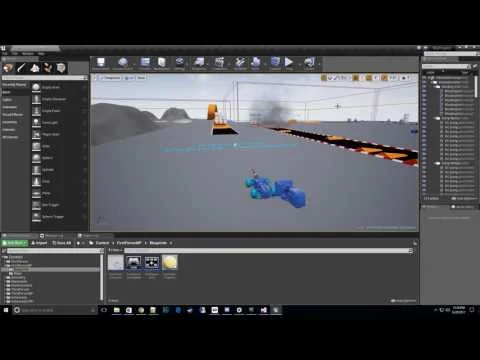
Demo Player Video Series
Initial Setup
Download the plugin into your project and then enable it.
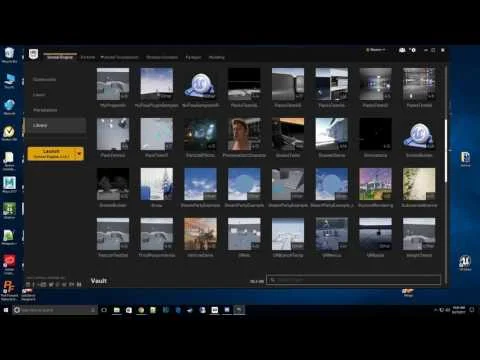
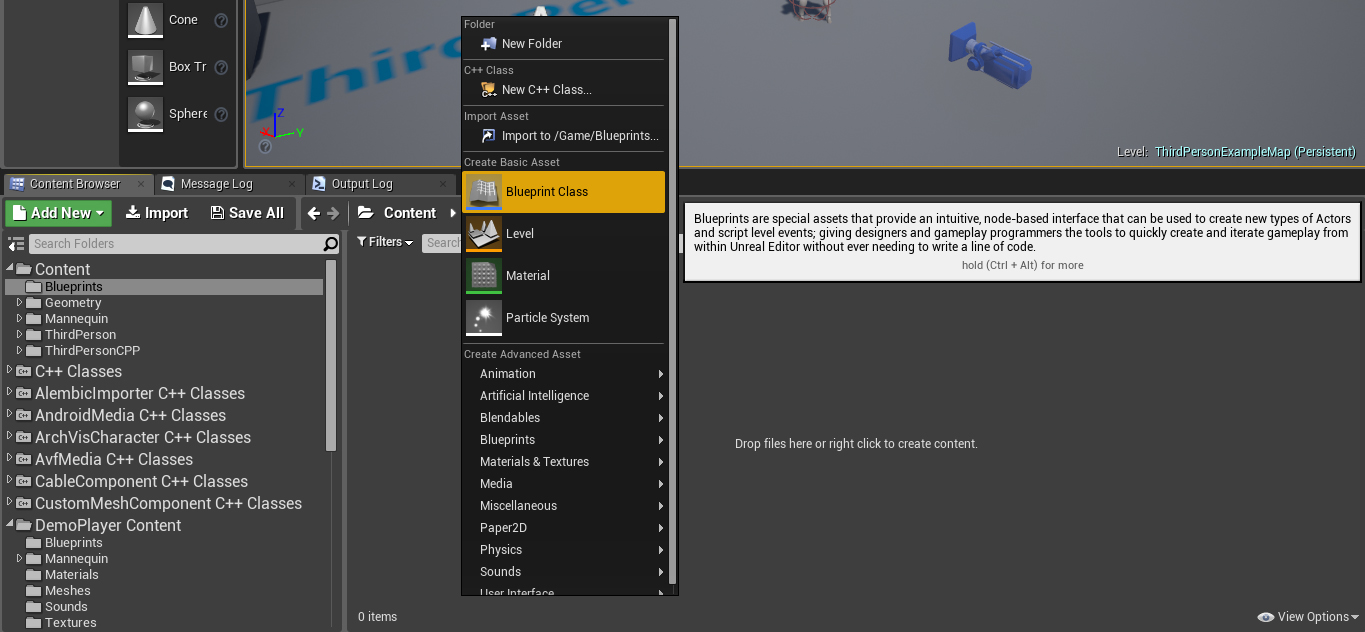
Show plugin content in the view options. Click on "View Options" in the content browser and check "Show Plugin Content"

Scroll down to the DemoPlayer content to see all plugin resources.

Setup Config: DefaultEngine.ini
DAdd the following Net Driver Definition to your defaultengine.ini file if it is missing. Under the "[/Script/Engine.GameEngine]" heading add:
+NetDriverDefinitions=(DefName="DemoNetDriver",DriverClassName="/Script/Engine.DemoNetDriver",DriverClassNameFallback="/Script/Engine.DemoNetDriver")

Step 1: Game Instance
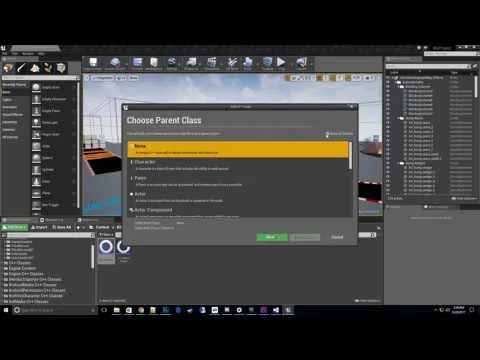
Derive your project Game Instance from DemoPlayerGameInstance. If you don't already use a custom Game Instance for your game, lets begin by creating a new blueprint class for your project.
In the Pick Parent Class popup choose the DemoPlayerGameInstance class as the parent class.

Next update your "Project Settings"->"Maps & Modes"->"GameInstance" by adding your GameInstanceClass.

If you already have a Custom Game Instance established, reparent it to DemoPlayerGameInstance if its a blueprint. If you have a c++ derived class, inherit from DemoPlayerGameInstance.
Restart the UE4 editor.
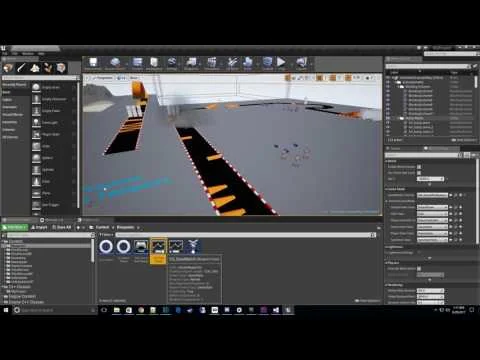
Step 2: Replay Spectator
In the same manner as the Game Instance, Derive your Demo Replay class from PC_DemoSpectator.

Next you need to assign the new blueprint to your game mode. Open up your GameMode class or create a new GameMode blueprint if you don't have one for your project already. Inside of the GameMode under the "Classes" category assign your ReplayController to the "Replay Spectator Player Controller Class"

Step 3: Replay Browser
Now you need to install the replay browser which is UMG_DemoList somewhere in your Project Menu system. In the PluginExample, the replay browser menu is created inside of the ThirdPersonCharacter Blueprint(Recommended setup is in your project's Menu Design).

That is it to install the browser, you can customize the look and layout by modifying UMG_DemoList inside of UMG.
Step 4: Game State
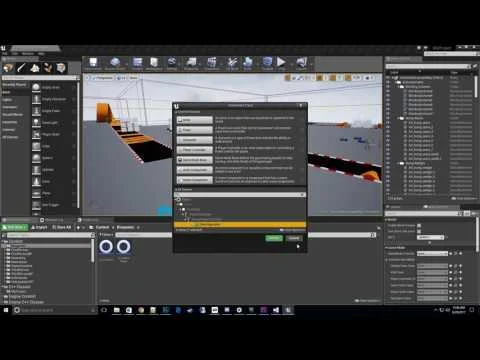
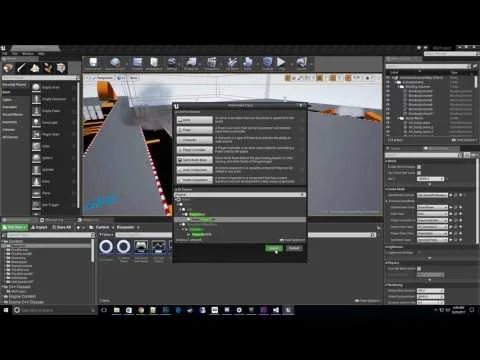
Next we want to have the option to auto record game play. Create a new blueprint class and pick the parent as DemoPlayerGameState or reparent any existing GameState class.

Open up the new blueprint and look under "Demo Settings" category to find the "Auto Record Server" & "Auto Record Client". The default "Auto Record Server" should be fine in most cases.

Lastly back inside of your GameMode blueprint, assign the Game State Class to the newly created one.

Now when the game and match starts, it will auto record the game until the end of match or exited. The demo will then show up in your replay browser for your viewing pleasure =).

*TIP* Demo playing & recording doesn't work in PIE. You must play the standalone version of your game.
Basic Use
WIP
Basic Templates
WIP